Project hardware requirements
The following section of the project indicated the hardware devices that will be required so that they can be used after the network has been developed. The idea behind this is that we need this because we realise we are building a network design from scratch and therefore this has made us to also come with new devices so that they can be fixed in admin, classes, labs and the libraries respectively. requirements comes with the minimal specifications the devices should have.
|
|
Hardware Name |
Manufacturer |
Series |
Model |
Ports |
Specifications |
Quantity |
|
1 |
Desktop and Monitor |
Dell |
Core i5 |
7400 |
8 usb ports |
Mini tower A processor of intel Core i5 (7th Gen) 7500 / 3.4 GHz CACHE Memory is 6MB Memory speed is 2400mhz RAM memory is 8GB Uses DDR4 SDRAM A hard drive of 7200rpm as the spindle speed Has a storage capacity of about 1TB It is a core i5 which is 7th generation Ethernet, Fast Ethernet, Gigabit Ethernet as the data link protocol Intel hd graphics of about 360 Supports HDMI Two year warranty |
104 |
|
2 |
Server |
IBM |
System i5 |
890 |
Have an integrated architecture Support models from 270 to 890 Supports up to 2TB and supporting up to 2700 disk drives(381 TB of the disk capacity) It is integrated with the DB2 UDB which has features such as object-relational technology and the data link type and others The connectivity is universal as it uses TCP/IP and the systems network architecture SNA protocols. Network management such as the Systems management in TCP/IP networks, Alerts support to Net View and System i5, Distributed System Node Executive (DSNX). Support VPN Windows can be integrated. |
4 |
|
|
3 |
IPhone |
Cisco |
7965G |
7965G |
Has a display of 5inches with a graphical TFT color display. Support for wideband (G.722 codec, adherence to TIA 920), including handset, headset, and speakerphone (see Q&A for details). Support codec of up to G.722 It has a full duplex speakerphone with cancellation of acoustic echoes Allow user to adjust the display brightness Internal 2-port Cisco Ethernet switch allows for a direct connection to a 10/100/1000 BASE-T Ethernet network through an RJ-45 interface with single LAN connectivity for both the phone and a co-located PC. It has an optional add on module Supports service code point. |
8 |
|
|
4 |
Switch |
Cisco |
SGE2010 |
48 |
It has 48 10/100/1000 Ethernet ports Dual images for resilient firmware upgrades ACLs for granular security and QoS implementation Configuration and monitoring from a standard web browser. Has a forwarding capacity of about 71.4 mpps Can support up to 192 ports in a stack. Can support up to 256 active VLANS It has HOL blocking |
10 |
The other major devices are like the cabling which will be cat 6, we can add another wireless access point and much more many RJ 45 connectors.
Network Design
In network designing we must consider the network requirements that are based to the economy as the demands are always set by what the institution get [3]. The idea behind this choosing of a diagram will also be based on the security that is needed to be achieved at the end of it all. This designing of the network selection has really helped in adjusting the changes in loading off traffic that help to maintain the consistence of the response time of all connected applications [4]. There are some several guidelines that must be achieved so that we come up with a good design that help in meeting all the needs and the requirements of the institution.
The guidelines goes hand in hand for any computer that is connected over the network and need to be completed and hence they meet the user needs [5]. The are four major requirements that need to be approached for any design selection as stated below.
In this network design with reference to what has been put by the institution is that we need to select a hierarchical network design which has three layers as explained below. The diagram will be explaining the three layers and showing some illustrations and on how they can be configured and installed.
Core Layer- this is the connections of distributed devices in the distributed layer
Distribution layer- used for connecting devices in networks in smaller networks like that of the classroom
Access Layer- this provides the connectivity for the network hosts and to that of the end-user devices.The Logical diagram.
In this concept we have the simulation of the expected hierarchical network diagram that will be used in designing the physical design of the network. The simulation indicates a router which is configured as follows so that it can communicates with switches and the internet service providers.
The justification for this figure is that it shows that there are four labs and four class rooms and al of them seems to be communicating very nicely. If I want to send a message from Lab 4 to classroom 1 then I can try as shown below and if the result is successful then the diagram is justified in showing the network is communicating in the different rooms.Network Device and Configurations The network mask and the IP addresses.
The case of scalability in this network will be a major step in knowing the mask of the network and the class of the Ip addresses to use [6]. In this case we will use the Class B of the IP address which will supports the scalability as well as the how flexible it will be. With about more than 130 hosts then the institution will need a range that would effectively allow future extensions and much more which are appropriate. The table highlighted below explain the range of the details of the institution that could be applied.
|
IP ADDRESS |
IP Class |
Network Address |
Subnet Mask |
Subnet Bits |
Host Bits |
Number of Subnets |
Host per subnet |
|
|
|
172.40.0.0 |
B |
173.40.0.0 |
255.255.248. |
19 |
13 |
32 |
2046 |
||
|
The Ip Addressing of the Institution |
|||||||||
|
Floor |
The Subnet |
Subnet Mask |
Subnet Size |
Host Range |
Broadcast |
||||
|
1 |
172.40.0.0 |
255.255.248.0 |
2046 |
172.40.8.1-172.40.7.254 |
172.40.25.25 |
||||
|
2 |
172.40.8.0 |
255.255.248.0 |
2046 |
172.40.8.1-172.40.15.254 |
172.40.15.255 |
||||
Router configuration
A router is a device that is used for connecting the devices in the two floors occupied by the institution. The router is used also for provision of access to connections externally like the internet where we have the case of cloud-design approach. The screenshot below explain how the route is configure with a switch.
Figure 4 Shows the routers and switches before they are configured
The figure below shows the button being red showing that the router and the switches cannot communicate not unless we configure the routers. The router will be configured following the command instructions as explained here below so that the router can communicate efficiently with the router such that the buttons on cables to indicate color green which indicates that the data packets can be transferred from one device to the other.
We click on the router and select the CLI tab and start inputting commands.
— System Configuration Dialog —
Would you like to enter the initial configuration dialog? [yes/no]: no
Press RETURN to get started!
Router>enable
Router#config t
Enter configuration commands, one per line. End with CNTL/Z.
Router(config)#interface fastethernet0/0
Router(config-if)#ip address 174.40.0.0 255.255.255.0
Bad mask /24 for address 174.40.0.0
Router(config-if)#interface fastethernet0/0
Router(config-if)#ip address 192.168.10.1 255.255.255.0
Router(config-if)#no shutdown
Router(config-if)#
%LINK-5-CHANGED: Interface FastEthernet0/0, changed state to up
%LINEPROTO-5-UPDOWN: Line protocol on Interface FastEthernet0/0, changed state to up
Router(config-if)#exit
Router(config)#int fa0/1
Router(config-if)#ip address 192.168.11.1 255.255.255.0
Router(config-if)#no shutdown
Router (config-if) #
%LINK-5-CHANGED: Interface FastEthernet0/1, changed state to up
%LINEPROTO-5-UPDOWN: Line protocol on Interface FastEthernet0/1, changed state to up
Router#%SYS-5-CONFIG_I: Configured from console by console
After you type the no shut down command and click enter then the router should change its state to that of the configured one and the buttons of the cabling will need to change to green showing clearly that they are communicating with the switch an much data packets can be transmitted from one device to the other. The figure or screenshot the configured root working.
The router configuration with the Computers.
The following steps are followed when we are configuring the PCs so that they can communicate with the devices as shown below. In this case we have three devices that are connected to each other and for them to communicate the router first of all. Just like with the case with the above router switch configuration we open the router CLI and use the following commands as explained here below as they will help in accessing the layers one on one, help in assigning the ip addresses to the available interfaces, changing the interfaces status and that is from down to up, assigning the ip addresses to the PCs and lastly is assigning the default gateway to the PCs connected as explained and shown
Press RETURN to get started!
Router>enable
Router#conf t
Enter configuration commands, one per line. End with CNTL/Z.
Router(config)#int fa0/0
Router(config-if)#ip address 192.168.1.1 255.255.255.0
Router(config-if)#no shutdown
Router(config-if)#
%LINK-5-CHANGED: Interface FastEthernet0/0, changed state to up
%LINEPROTO-5-UPDOWN: Line protocol on Interface FastEthernet0/0, changed state to up
Router(config-if)#exit
Router(config)#int fa 0/1
Router(config-if)#ip address 192.168.2.1 255.255.255.0
Router(config-if)#no shutdown
Router(config-if)#
%LINK-5-CHANGED: Interface FastEthernet0/1, changed state to up
%LINEPROTO-5-UPDOWN: Line protocol on Interface FastEthernet0/1, changed state to up
After you type the no shutdown command and click enter the state of the devices will change from down to up showing that they are communicating.
As shown above in figure 7 its shows now that we can be able to access the interfaces one by one because we have already assigned the IP addresses. This will be justified by the change of lights from color red to green.
The next step so that we make the PCs communicate with each other over the network will be to assign the IP addresses to the PCS and this can be explained as shown in the dfollowing steps.
Click on the PC0 and select the desktop option and click the Ip config tab.Following the same procedure like in PC0 do the same for PC1 and assign the IP address as explained in the Screenshot below.Figure 9 PC1 IP address assigning
Now when we are done with the assigning of the IP address on the PCs then we realize that the communication now is enabled as now the two PCs can now communicate via the routers. To justify that we need to click on the packet and then click PC0 and then Click PC1. If the status shows that the packet are communicating by giving us a successful result then we have done all what is needed and our logical diagram is communicating as it was expected.
Demonstration of the Physical network Devices
There are many devices that has been used in making this network suitable and convenient so that the institution can be able to communicate effectively at all times and much more meeting their objectives. The following will be a small illustration explaining how the network devices functions and how they work together in sharing the network resources.
This are devices that are used for connecting the network with the web. They are used for offering provisions of all devices that are embedded on any accelerating encryptions, DSP slots being expanded, firewalls, preventions of the intrusions, processing calls etc. A router has a lot of capabilities than many other capabilities. A router is able to analyze the data that is being sent on the network, changing the package and send it any other network may it be to a different network [7].Figure 12 Router Connection
Servers are components used for managing the access of all resources that are shared within the network. The servers that are mostly used like in this institution will be like the mail-server, file-server, Domain Name server, Dynamic Host Configuration Protocol Server.Many are servers that are assigned one task and they are referred to as dedicated server since they are required to deliver services that are always required constantly as they are not turned off(They run 24/7) [8]
These are devices that are connected to the network which may include things like the desktops, printers, scanners, IP Phones.
This are the cable cat 6 which are used for the provision of connections between the devices on the access layer in the organization network.
This is a transceiver kind of a device that is used for creation of a wireless LAN which is the Wireless Local Area Network (WLAN). This device is mostly known for broadcasting the WI-FI signals within an organization and this will eventually allow the users for connecting to the Local Area network.
This is a cable with a connector that is inserted on the RJ 45 port so that the workstation device can connect with other devices over the network. It also help the devices in accessing the internet.
Conclusion
In the above discussed design of the institution network much will be needed especially to come from the institution like the budgeting and much more allowing room for the above to be analysed and implemented in all ways. We have discussed on the benefit of using the hierarchical network design as it will be easy when we need to expand may be in future and hence no need for us in designing another structure of the design. The logical diagram does not cover all devices but it only covers a few depending on the way we will demonstrate and then from there we will draw the exact design after we identify the physical topology. If all what has been discussed will be followed keenly then we will have an easy time when designing the network for the institution and much more less time and effort will be used.
References
|
[1] |
B. Mitchell, “Internet and Network,” What is Computer Networking?, pp. 1-3, 2017. |
|
[2] |
JoshWepman, “techwalla,” 11 September 2015. |
|
[3] |
L. Adato, “5 Fundamental Requirements For High-Performing Networks,” A new set of network essentials is necessary to meet the challenges of today’s network administration and management, pp. 23-36, 2015. |
|
[4] |
N. requirement, “Network Requirements for a Small Office,” requirements network, 2014. |
|
[5] |
Cisco, “Benefits of a Hierarchical Network,” Cisco, 2009. |
|
[6] |
“Subnetting,” March 25 2010. |
|
[7] |
C. Hope, “Router,” computer hope, 02 10 2017. |
|
[8] |
C. Hope, “Server,” Computer Hope, 10 11 2017. |
Essay Writing Service Features
Our Experience
No matter how complex your assignment is, we can find the right professional for your specific task. Contact Essay is an essay writing company that hires only the smartest minds to help you with your projects. Our expertise allows us to provide students with high-quality academic writing, editing & proofreading services.
Free Features
Free revision policy
$10Free bibliography & reference
$8Free title page
$8Free formatting
$8How Our Essay Writing Service Works

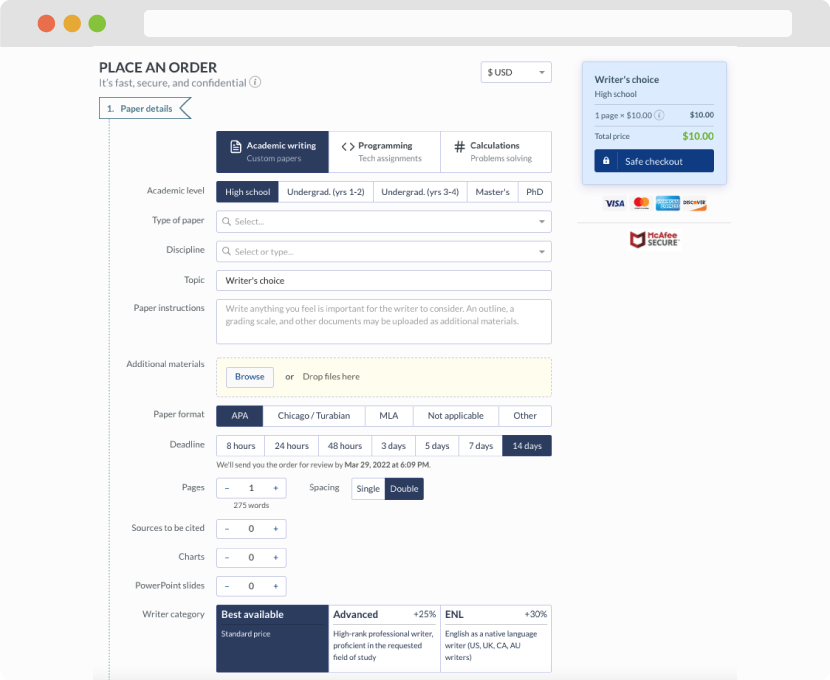
First, you will need to complete an order form. It's not difficult but, in case there is anything you find not to be clear, you may always call us so that we can guide you through it. On the order form, you will need to include some basic information concerning your order: subject, topic, number of pages, etc. We also encourage our clients to upload any relevant information or sources that will help.
Complete the order form
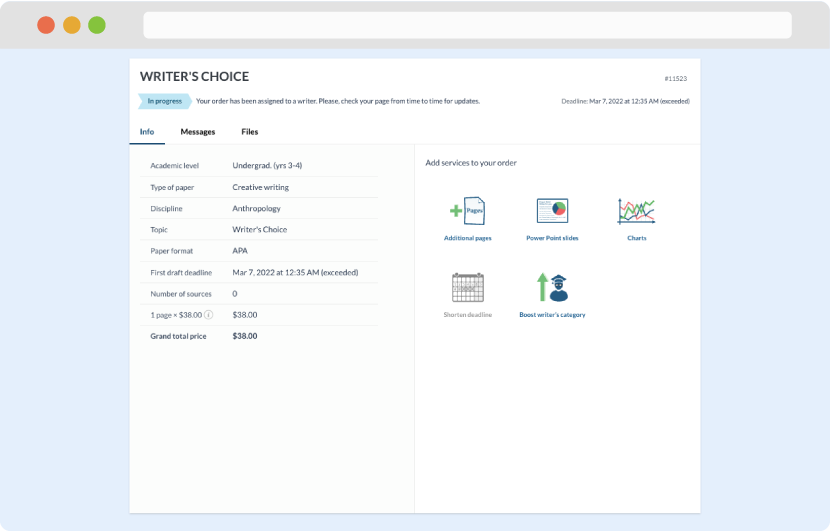
Once we have all the information and instructions that we need, we select the most suitable writer for your assignment. While everything seems to be clear, the writer, who has complete knowledge of the subject, may need clarification from you. It is at that point that you would receive a call or email from us.
Writer’s assignment
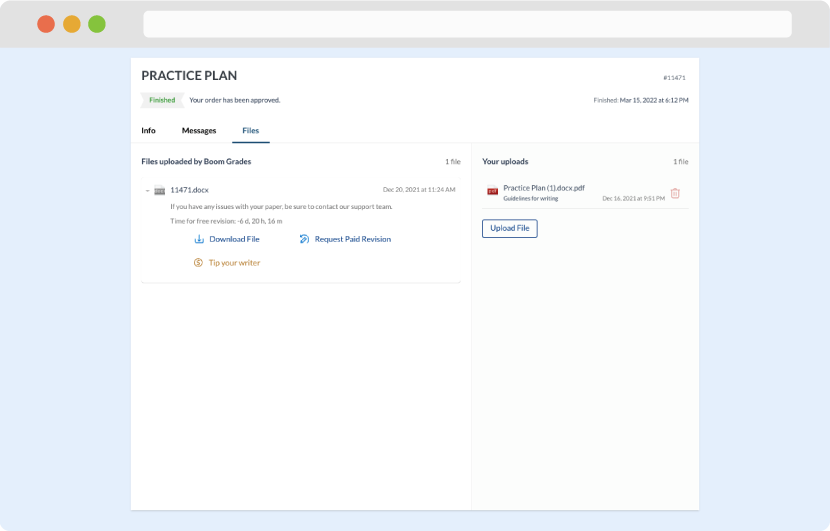
As soon as the writer has finished, it will be delivered both to the website and to your email address so that you will not miss it. If your deadline is close at hand, we will place a call to you to make sure that you receive the paper on time.
Completing the order and download