1.1 Pressure testing carried out normally for a test package or system, using the application of pressurized ‘gas’ to the internal surfaces of the piping system, at a prescribed test pressure for the system and subject to strict safety requirements due to potentially very high stored energy values according to ASME B31.3. Recommendations (ie.Po ´110%
N2 is used for pneumatic test. The line list will define the pneumatic test pressure, 1.1 ´€ design pressure (specified test pressure by client).
Line List: Engineering document specifying numbering, class, design, and operating parameters for piping systems.
Visual Test: Piping shall be subject to 100% visual inspection of each joint.
Responsibilities :
2.1 shall be responsible for ensuring safety, quality assurance and quality control of the testing activities in accordance with the Contract requirements.
2.2 shall prepare the Test Package/System for pressure testing including completing all applicable installation works and punch-lists, gaining. Turnover Engineer approval to test by submission of completed Test Packages, and preparing the system physically for testing by blanking, spading, filling, venting.
3.0 PREPARATION FOR PNEUMATIC (AIR, or N2 AND LEAK TESTING OF PIPING
3.1 A pressure test schedule, by piping testpack, shall be prepared by Contractor and submitted to the Employer on a two week look ahead basic. Testing and completion shall be in accordance with MWZ overall schedule.
3.2 Testing through equipment is not permitted.
3.3 Testing shall be performed on all interconnected lines able to contain the same test pressure in preference to testing individual lines or single components of a system.
3.4 Closed valves shall not be used as test limits; the value shall be opened and blanked, or removed to allow blanking of the adjacent flange. Valve handles shall be secured in the open position.
3.5 All joints, including welds, shall be left un-insulated and exposed for examination during pressure testing.
3.6 YennDar will issue the Test Pack and an Inspection Notification, notifying MWZ when piping is ready for testing. MWZ will carry out walk-down/ punch-listing, process and mechanical checks of piping, prior to it being released by the MWZ Engineer as “Ready for Testing”.
The Test Pack/ work will be deemed ‘Ready for Testing’ by MWZ Engineer, when:
All As-built drawings (P & IDs / Isometrics) are included
Piping Pre-test Checklist Record is approved by MWZ
All Cat ‘A’ impact – Non Conformances and Design Changes are completed/FW approved
All Piping and all direct/permanent supports are installed
All valves are installed as per P & ID/ Isometric
All spades and blinds, vents, drains, fill points are installed as per Test Pack
All direct welding is complete, (pressure envelope) and as applicable
All inspections and NDE are completed and accepted
All bolts and gaskets are installed, permanent and temporary (at test limits, temporary spool pieces, etc).
All other temporary items are installed as applicable
All Punch list Category ‘A’ Items are complete and signed off by MWZ and Client.
3.7 Contractor shall sequence and submit Test Packs in accordance with MWZ System definition, Turnover Schedule and Test-pack procedure. Test Packs shall carry a unique number for each test operation.
3.8 Contractor shall prepare sufficient quantities of correct grade and thickness blink flanges, test blinds, spades, temporary spools, test gaskets and bolting required to enable testing of pipework.
3.10 Before commencement of pressure testing. Contractor shall calibrate its pressure test equipment and submit the relevant calibration certificates to Supervisor. Test Gauges shall be identified on the test certificate and the gauges marked with their identification numbers. Gauges utilized at the construction site shall be re-calibrated every six months.
3.11 The following items shall be removed or disconnected from piping prior to pressure testing. Where necessary they shall be replaced with temporary spool pieces:
Restriction/ Office plates
Relief valves
Indicators (P.I/T.I etc)
Rupture discs-Flow Meters and in-line Instruments (see below)
Control valves
Actuators for actuated on/off valves (if the valve cannot be safety retained in the open position for the duration of the test).
Non-return valves shall be removed completely from the line, or have the internals removed, bagged and wired to the valve body/pipe spool to avoid loss.
In-Line Instruments
In-Line instruments, sight glassed, liquid view glasses, expansion joints, filters and similar equipment whose maximum rated pressure is less than the test pressure shall be removed. Insert type instruments such as special flow meters shall also be removed before pressure testing of the line.
Contractor shall reinstate all items after successful completion of Pressure testing.
3.12 Valves within the System to be tested shall be in an open position, but not back seated such that the valve stem packing would be tested.
3.13 Shut-off valves in instrument supply lines from main process lines and equipment shall be closed. Instruments shall be disconnected.
3.14 All hard operated valves within a test loop shall be temporarily tagged with large red cautions tags or steel wired to avoid accidental operation during filling or testing.
3.15 All System valves, including valves within Production Packages must be removed during testing where the maximum rated pressure of the valve is exceeded by the test pressure.
3.16 Valve that are butt welded shall be kept open, or if in closed position, valve rating shall be checked and eventually change the membrane for testing purpose.
4.0 PNEUMATIC TESTING PROCEDURE
4.1 Pneumatic testing procedure shall be carried out accordingly to ASME 31.3 safety recommendations due to possible hazards.
4.2 The test arrangement shall be such that the temperature of gas entering the piping system is not lower than the following, bearing in mind that if a gas is let down from high pressure its temperature will fall:
Carbon steel : minimum temperature
4.3 Prior to testing, it shall be demonstrated that as far as possible, no person would be exposed to injury should any part of the piping system fall during the test procedure. Consideration shall be given to this testing being carried out ‘outside of normal working hours’. Safety department shall authorize all Pneumatic test permits/ testing zones and exclusion areas.
4.4 Only authorized test personnel should be allowed within the designated test area, all other personnel must be removed.
4.5 Where the source of pressure is higher than the test pressure, and specifically for N2 bottle precautions against over pressurization shall be taken through the use of reducing valves, pressure gauges and safety relief valves adequately calibrated and sized. Test rig configuration, (ie. Instrument for pressure registration accuracy & calibration) shall be MWZ approved prior to use.
4.6 All pneumatic tests shall include a preliminary check at a pressure not exceeding 1 barg. Calibration accuracy of this pressurization tools to be provided for safety reason. This pressure shall be held until all joints have been inspected for leaks by brushing each joint with snoop solution.
4.7 Before to start the registration of the data, adequate time should be given so that the temperature of gaseous media will reach the ambient temperature. No tolerances on pressure registration are allowed unless these pressure variations can be demonstrated due to ambient temperature variation in 1 hour time testing, or are within the accuracy range of the pressure measurement instrument and/ or registrator.
Bubble Testing
5.1 Household soap or detergents are not permitted as substitutes for bubble testing solutions. The bubble solution shall form a film that does not break away from the area to be tested and bubbles formed shall not break rapidly. The solution shall be compatible with the temperature of the test conditions.
5.2 All flanged joints in the test shall have masking tape externally wrapped around the periphery and a pinhole made and highlighted to aid in the detection of leakage. If the joints fail, remove masking tape to locate source of leakage. After corrective action retest flange as above until satisfactory.
5.3 The surface areas to be tested shall be free of oil, grease, paint or any contaminants that might mask a leak. Components shall be dry before leak testing, this may involve drying component or if a hydrostatic test has been carried out previously.
5.4 The bubble solution shall be applied to the surface to be tested by spraying or brushing the solution over the examination area. The number of bubbles produced in the solution during application shall be minimized to reduce the problem of masking bubbles caused by leakage.
5.5 Before initial examination the test pressure shall be held for a minimum of 15 minutes.
5.6 The presence of continuous bubble growth on the surface of the material indicates leakage in the region under examination.
5.7 When leakage is observed the leaks shall be marked. The component shall then be de-pressurized and the appropriate measures taken to seal the leak. The affected areas shall be re-tested after the necessary action has been taken.
5.8 After testing masking tape shall be removed and bubble cleaned away.
5.9 After initial bubble testing in accordance with 6.5 above, the pressure shall be increased in increments of 1.0 barg and the system checked for pressure loss and held for a minimum of five minutes at each increment step up to 13.5 barg. This is to provide sufficient time for piping to equalize strains.
System under test must hold the specified test pressure for 30 minutes without loss of pressure. The test rig apparatus shall be disconnected and the isolation valve blanked to eliminate leakage. (1.1 x design pressure)
Digital pressure gauge ( 1 psi resolution) are required.
Pressure relief valve set to design pressure plus 25 psig.
.
Visual Examination
Visual examinations are carried out in accordance with the line list classification.
6.2 Visual examinations are to be carried out 100% when pneumatic testing is required.
TEST EQUIPMENT AND RECORDS
Every 12 months, instruments and gauges used for testing shall be re-calibrated
By a certified testing laboratory or by the contractor (witnessed by MWZ representative) using a calibrated dead weight tester. Instruments and gauges used for testing shall have an optimum range of 2.0 times the test pressure, but not less than 1.5 times and not greater than 2.5 times the test pressure. Temperature gauges shall be graduated in whole degrees.
Record shall be made of each piping installation tested. These records shall include: (as a minimum)
Date of test
System No
Identification of piping test pack tested
Extent of test limits
Type of test (Hydrostatic or pneumatic) and medium
Test pressure ( specified and actual)
Test temperature (actual)
Calibration certificates by the laboratory.
Essay Writing Service Features
Our Experience
No matter how complex your assignment is, we can find the right professional for your specific task. Contact Essay is an essay writing company that hires only the smartest minds to help you with your projects. Our expertise allows us to provide students with high-quality academic writing, editing & proofreading services.
Free Features
Free revision policy
$10Free bibliography & reference
$8Free title page
$8Free formatting
$8How Our Essay Writing Service Works

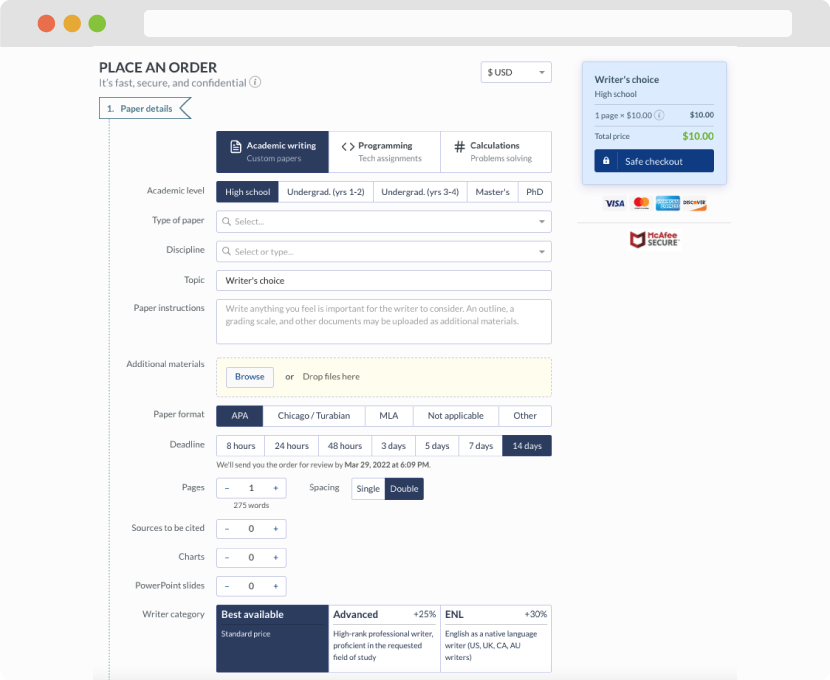
First, you will need to complete an order form. It's not difficult but, in case there is anything you find not to be clear, you may always call us so that we can guide you through it. On the order form, you will need to include some basic information concerning your order: subject, topic, number of pages, etc. We also encourage our clients to upload any relevant information or sources that will help.
Complete the order form
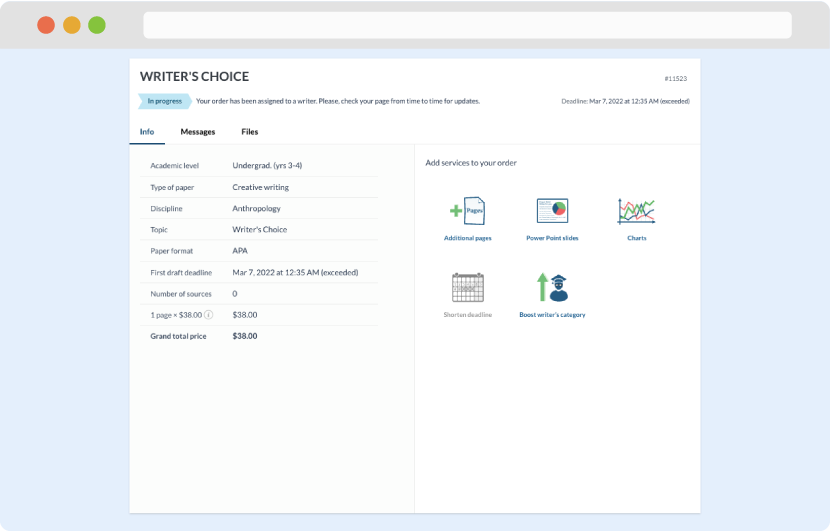
Once we have all the information and instructions that we need, we select the most suitable writer for your assignment. While everything seems to be clear, the writer, who has complete knowledge of the subject, may need clarification from you. It is at that point that you would receive a call or email from us.
Writer’s assignment
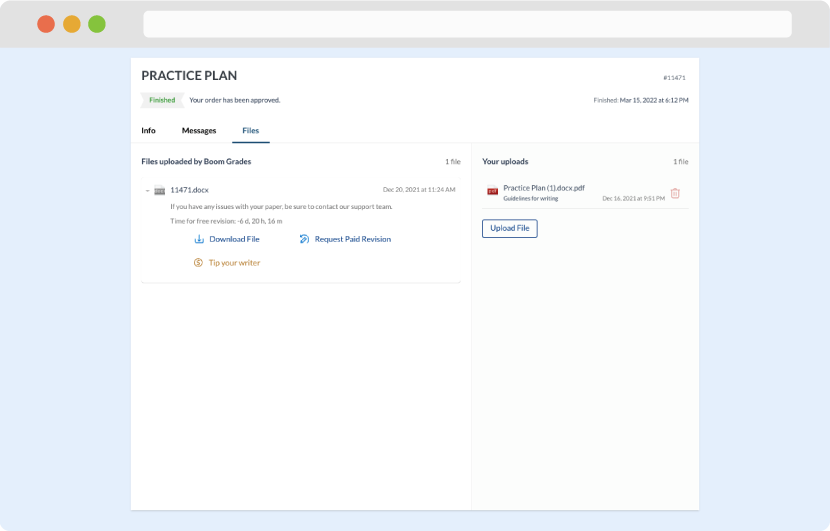
As soon as the writer has finished, it will be delivered both to the website and to your email address so that you will not miss it. If your deadline is close at hand, we will place a call to you to make sure that you receive the paper on time.
Completing the order and download