Throughout the experiment the main goal is to find out about the realities in taking measurements, that is, that there will always be an uncertainty for each acquired value. And to find out and recognize these uncertainties was handled in the experiment. Tools of measurement were also introduced to the students and principles for accurate measurement were tackled to educate the individuals on how to get measurements with the least percentage of error with uncertainties.
Throughout history, man has made and used various tools for measuring.
It evolved from using their body parts to using daily objects then in formulating specific tools for measurement. Along with these innovations came the credibility of each measurement. It was then called to as measurement uncertainties. In the later years, systems of solutions are made in order to justify measurements in terms of accuracy and precision. From these solutions can errors be also known and calculated, thus are also prevented and minimized in the process.
Measurement uncertainty arises from the lack of knowledge of how sure or accurate a measurement is. This produces a non- negative variation of results which can be compared from a true and accepted value. Accuracy refers to how close a measurement is to its accepted and real value while precision is defined as how different separate measurements with unchanged variables are showing the same values of results.
Speaking of errors in relation to measurements, there are two classified namely, random errors and systematic errors. Random errors are from either environmental or manual (from the tool used) factors.
These are unexpected since these arise from technicalities of the environment and also of the tools used. Systematic errors are mainly from the tool. It may either be because the tool has problems functioning well or if the tool was used improperly. This experiment aims to give the students the opportunity to study errors and how they propagate in simple experiment.
It determines the average deviation of a set of experimental values and determine the mean of a set of experimental values as well as set of average deviation of the mean. Its objective also covers the familiarization of the students with the vernier caliper, micrometer caliper and the foot rule. To compare the accuracy of these measuring devices and to determine the density of an object given its mass and dimensions are also recognized as the experiment’s goals and objectives.
When taking measurements, we always encounter numbers which not in their most precise and accurate measurement and in these situations, the rules on the significant figures apply. Significant figures are important especially in determining how accurate a measurement can be. It tells whether a digit tallied or written is accurate or is just simply estimated. Its use is to decrease the percentage of error that will be encountered in the future, especially when doing experimental activities. The rules on significant figures tell that zeros play important and varying roles.
Non-zero digits are to be considered significant along with zeros between these non-zero digits. Propagation of errors occurs when there are factors occurring that affect the accuracy and precision of each measurement. Errors occur either from the one getting the measurement, or from the measurement tool’s specifications. Here is the formula used in this exercise in getting the % error in the measurements: {experimental value – experimental value} *100
Least count represents the most accurate measurement a device can determine. It is shown as the least difference of each of the lines or subdivision in a measuring tool. For the vernier caliper, the least count is a hundredth of a centimeter. While the least count a micrometer can provide is a thousandth of a centimeter. Vernier principle mainly subdivides a measuring tool’s divisions in order to produce the least count possible and in turn giving a more accurate measurement. The vernier and micrometer calipers work on the same principle. The vernier caliper works like a foot rule with jaws to clamp the objects to be measured only its difference is that it is able to provide a more accurate measurement than a foot rule by applying the vernier principle.
It has two sets of jaws, one set for measuring an object’s inside diameter and the other set for measuring outer diameters of objects. In reading the measured value, read the centimeter mark on the fixed scale to the left of the 0-mark on the vernier scale. Then find the millimeter mark on the fixed scale that is just to the left of the 0-mark on the vernier scale. Look along the ten marks on the vernier scale and the millimeter marks on the adjacent fixed scale, until you finde the two that most nearly line up. To get to the correct reading, simply add this found digit to your previous reading.
To determine the diameter of the metal ball using the vernier calliper, the metal ball was fit between the jaws tightly. The lock was screwed tightly to hold the metal ball. To get the measurement, the centimetre mark on the fixed scale to the 0 mark on the vernier scale is read and recorded. The millimetre mark on the fixed scale that is on the left of the 0 mark must be located. The ten marks on the vernier scale and the millimeter marks on the adjacent scale must be located which has nearly lined up. Record the observed data.
To get the measurement, the previous reading and the reading in the vernier scale are added. To determine the diameter of the metal ball using the micrometer calliper, the metal ball was fit between the anvil and
the spindle by rotating the ratchet. The 1st measurement is obtained in the barrel by getting the reading nearest to the thimble. The 2nd measurement is obtained by getting the reading that lines up with the line on the barrel and circular scale. The 2 measurements are added to obtain the actual length.
Random error is always present in measurement and it refers to the statistical fluctuations in the measured data due to the precision limitations of the measurement device while systematic errors are caused by the imperfect calibration of measurement instruments or imperfect methods of observation, or interference of the environment with the measurement process, and always affect the results of an experiment in a predictable direction. Using the foot rule, vernier caliper and micrometer caliper, respectively, we got an average deviation of 0.06cm, 0.018cm and 0.000cm.
After 10 trials of measuring the metal sphere using the foot rule, vernier caliper and micrometer caliper, we got the mean of 1.55cm,1.6655cm and 1.666cm respectively; and the average deviation of the mean were 0.019cm, 0.005cm and 0.000cm respectively. From comparing the results of the experimental measurements done with the sample metal sphere using the foot rule, vernier caliper and micrometer caliper, it can be concluded that the micrometer gives the least % error for density having 0% error. The density of the sample metal sphere given was 9.693g/m3 using the foot rule and 7.806g/m3 using the vernier caliper while using the micrometer caliper it was7.644g/cm3 .
% error=|accepted value-experimental value|x100
Accepted value
% error=|143.2990000 lbs -143 lbs |x100 143.2990000 lbs
% error= 0.2086546
Hence, the 0.209% is the percent error.
In an experiment on determination of mass of a sample, your group consisting of 5 students obtained the following results: 14.34g, 14.32g, 14.33g, 14.30g and 14.23g. Find the mean, a.d. and A.D. Suppose that your group is required to make only four determinations for the mass of thes ample. If you are the leader of the group, which data will you omit? Recalculate the mean, a.d. and A.D. without this data. Which results will you prefer?
Essay Writing Service Features
Our Experience
No matter how complex your assignment is, we can find the right professional for your specific task. Contact Essay is an essay writing company that hires only the smartest minds to help you with your projects. Our expertise allows us to provide students with high-quality academic writing, editing & proofreading services.
Free Features
Free revision policy
$10Free bibliography & reference
$8Free title page
$8Free formatting
$8How Our Essay Writing Service Works

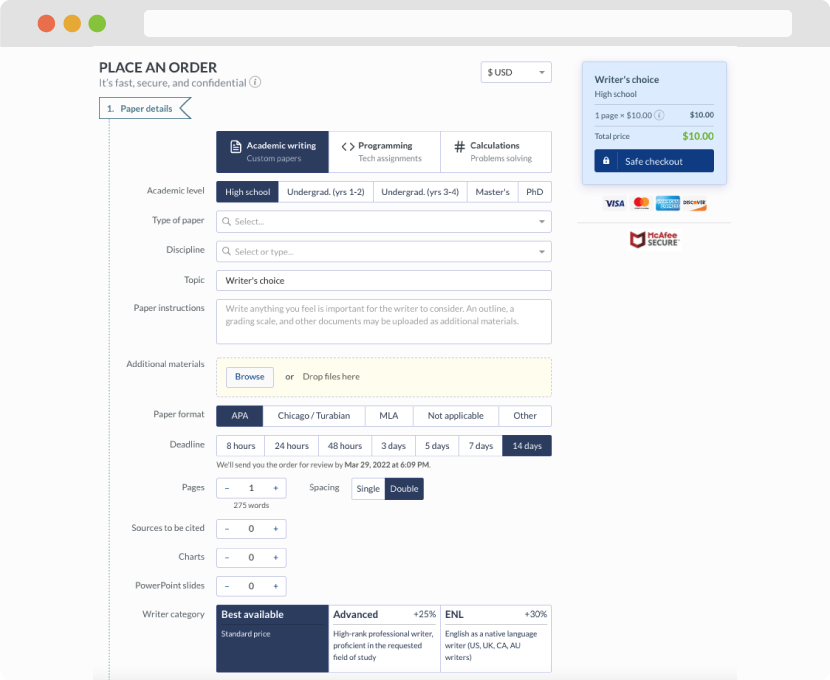
First, you will need to complete an order form. It's not difficult but, in case there is anything you find not to be clear, you may always call us so that we can guide you through it. On the order form, you will need to include some basic information concerning your order: subject, topic, number of pages, etc. We also encourage our clients to upload any relevant information or sources that will help.
Complete the order form
Once we have all the information and instructions that we need, we select the most suitable writer for your assignment. While everything seems to be clear, the writer, who has complete knowledge of the subject, may need clarification from you. It is at that point that you would receive a call or email from us.
Writer’s assignment
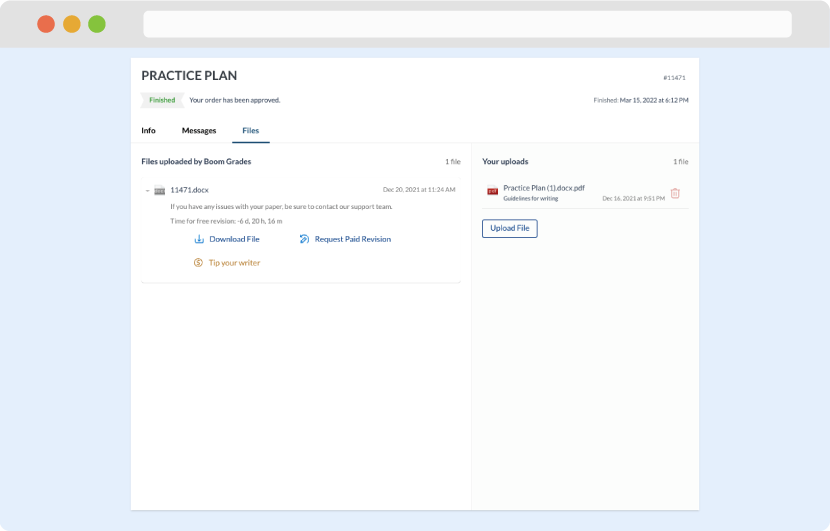
As soon as the writer has finished, it will be delivered both to the website and to your email address so that you will not miss it. If your deadline is close at hand, we will place a call to you to make sure that you receive the paper on time.
Completing the order and download