Exercise 2: Standard Atmosphere – AirspeedThe first part of this week’s assignment is to choose and research an airport of interest. This can be an airfield near you or an interesting place you always wanted to explore further. The important thing is that it should have some regular weather reporting capability, in order to enable your research. For your research you can utilize the official FAA Airport/Facility Directory or any suitable and available online flight planning software, such as: http://www.aopa.org/airports/ or http://skyvector.com/airports (AOPA’s flight planning tool has the advantage of directly depicting current weather as well).For weather information, you can use the official NOAA aviation weather from https://www.aviationweather.gov/metar or any other available flight planning tool – see AOPA link above. Notice that un-decoded METAR temperatures are usually given in °C; however, if using the AOPA tool, the weather report will already be translated for you with temperatures in °F and altimeter setting given by an A followed by four digits for the in Hg setting with two decimals. See picture below.)1. Selected Airfield:2. ICAO identifier (the ICAO identifier is the 4-letter airport code, starting with a ‘K’ for the continental US):3. Field elevation [ft MSL] (field elevation can be found in the location information section at skyvector.com or the overview section at AOPA’s flight planning tool):4. Current weather report at the time of work on this assignment: a) Date and time: b) Current altimeter setting [in Hg]: c) Current temperature [°F or °C, but stay consistent]:When operating at an airfield within the US, the altimeter is adjusted according to current conditions (i.e. the reported altimeter setting that you found) in order to always indicate the correct field elevation when on the ground. Therefore, you indicated altitude will remain equal to your field elevation when being on the surface of that airfield, but your pressure altitude will be subject to change depending on changes in the altimeter setting.A. Using your researched data, find the Pressure Altitude of your airfield [ft]. Use the found altimeter setting and the rule of thumb lapse rate of 1 in Hg = 1000 ft, i.e. 00.01 in Hg = 10 ft change from the field elevation, with standard atmospheric altimeter setting being 29.92 in Hg (see also tutorial and example problems). Keep in mind that an increase in altimeter setting above standard will lead to a positive shift of Indicated Altitude above Pressure Altitude (or in other words, a lower pressure altitude than what is indicated) and vice versa.Note: In some cases (low field elevation, coupled with high altimeter setting) it may lead to negative pressure altitudes, which is completely correct. However, to allow further work in the atmospheric table excerpt in your textbook (Table 2.1, which does not include the negative values), you may change your altimeter setting in 4.b) to a lower value (please include a note) for all further work or select a different airfield (preferably above 1000’ MSL).B. Based on your determined pressure altitude, find the Pressure Ratio, (delta), in the Standard Atmosphere Table (“Flight Theory and Aerodynamics”, Table 2.1). Interpolate as necessary.C. Using your researched current temperature and the known standard sea level temperature, determine the Temperature Ratio, (theta). (Remember to convert °F or °Cinto an absolute temperature, i.e. °R or °K, and stay consistent within one system of measurement.)D. From your B and C results, find the Density Ratio, (sigma).E. With your D result, re-enter the Standard Atmosphere Table (“Flight Theory and Aerodynamics”, Table 2.1) to find the corresponding Density Altitude. Interpolate as necessary.Notice that the above relationships between Indicated, Pressure, Temperature, and Density Altitudes hold for any point in the atmosphere, not just for aircraft on the surface of an airfield. If atmospheric conditions such as altimeter setting and temperature or temperature offset are known, any Indicated Altitude can be converted in a similar way.One aspect that wasn’t addressed so far in our calculations is humidity. Although not part of the in “Flight Theory and Aerodynamics” introduced Standard Atmospheric table, changes in humidity can greatly influence Density Altitude and lead to decreases in performance of the engines, for example.F. To highlight the influence of humidity on air density, enter your airfield (elevation) and weather data (temperature and altimeter setting) into the online density altitude calculator tool http://wahiduddin.net/calc/calc_da_rh.htm (Make sure to select the correct units in the top/input area of the calculator and read the correct units in the bottom/results area). I) Find Density Altitude [ft] with 0% relative humidity. II) Find Density Altitude [ft] with 100% relative humidity. III) Compare your findings I) and II). Describe what effects humidity has on air density.In the second part of this module’s assignment we will revisit our takeoff conditions from module 1. This time, we will take a closer look into the speeds involved. Let’s assume the given 150 kts lift-off speed was the indicated value in the cockpit, i.e. the Indicated Airspeed [KIAS].G. Find the Calibrated Lift-Off Speed [KCAS] using the chart below, which is a typical example of an aircraft position error correction chart. (Consider that the gear would obviously still be in the down position at lift-off).H. Find the Equivalent Lift-Off Speed [KEAS] using yourCalibrated Airspeed from G above and the Pressure Altitude for your selected airfield (from A). (Compressibility Correction Chart, see “Flight Theory and Aerodynamics”, Fig. 2.6).Comment on your findings in H. Why was/wasn’t the Compressibility Effect in your case negligible?I. Find the True Lift-Off Speed [KTAS] (use the Density Ratio found in D).J. Calculate the Dynamic Pressure ‘q’ [lb/ft2], based on the TAS above. (Dynamic Pressure definition and formula can be reviewed in “Flight Theory and Aerodynamics” page 22; make sure to use a formula consistent with a Lift-Off Speed in kts).
Essay Writing Service Features
Our Experience
No matter how complex your assignment is, we can find the right professional for your specific task. Contact Essay is an essay writing company that hires only the smartest minds to help you with your projects. Our expertise allows us to provide students with high-quality academic writing, editing & proofreading services.
Free Features
Free revision policy
$10Free bibliography & reference
$8Free title page
$8Free formatting
$8How Our Essay Writing Service Works

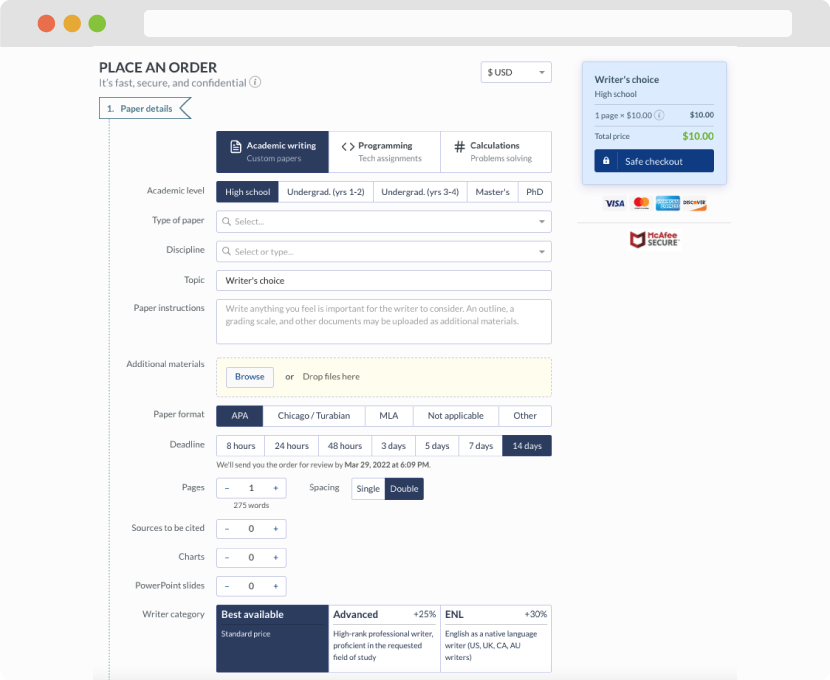
First, you will need to complete an order form. It's not difficult but, in case there is anything you find not to be clear, you may always call us so that we can guide you through it. On the order form, you will need to include some basic information concerning your order: subject, topic, number of pages, etc. We also encourage our clients to upload any relevant information or sources that will help.
Complete the order form
Once we have all the information and instructions that we need, we select the most suitable writer for your assignment. While everything seems to be clear, the writer, who has complete knowledge of the subject, may need clarification from you. It is at that point that you would receive a call or email from us.
Writer’s assignment
As soon as the writer has finished, it will be delivered both to the website and to your email address so that you will not miss it. If your deadline is close at hand, we will place a call to you to make sure that you receive the paper on time.
Completing the order and download