CAREER EPISODE 1
INTRODUCTION
CE 1.1:
Project title “Fluid Management System” was completed in my last year of Bachelor Degree program. I completed my Bachelors of Engineering Technologist in Mechatronics from Chisholm Institute, Dandenong, Australia. My first career episode is based on this project experience that I gained and performed for the fulfillment of my work placement. The project was completed in 13 weeks, from July 2015 to October 2015. I was assisted and guided by Prof. Francis Percy, lecturer of Advance PLC.
BACKGROUND
CE 1.2 Nature of project
My project water management system operated on six different modes, operator can switch between different modes with the help of control panels that are mounted on each operating mode switch. It has 2 modes for each operational mode i.e. Automatic and Manual mode. 1 is used to represent Automatic mode and 2 for Manual mode. There are also auto-manual switch selectors. The mode is chosen based on the way user wants to operate. For this purpose, SCADA & PLC programming is done to provide user friendliness.
CE 1.3
The pump MDC 118 operates when the tank 1 or 2 is filled from the holding tank whereas MDC 103 operates when filling it between tank 1to tank 2 or vice-versa. The six operational modes are:
Operation mode 1 – fills tank 1 from holding tank through SV321 value (energized) and SV322(deenergized).
Operational mode 2 – fills tank 2 from holding tank through SV321 and SV322 valves (deenergized).
Operational mode 3 – fills tank 1 which has an analog sensor to manage the start and stop level for the filling with exact value from tank 2 through SV323 deenergized valve and SV324 energize value.
Operational mode 4 – fills tank 3 which has a digital and capacitive sensor to manage the start and stop level for the filling with capacitive sensors, LSL 532 and LSH 531 from tank 2 through SV323 energized valve and SV324 deenergize value.
Operational mode 5 – fills the holding tank to tank 1 and at the same time, transfers tank 1 to tank 2 through SV321 (energized), SV322 (de-energized), SV323 (de-energized) and SV324 (energized). It also maintains a set point for filling the tanks.
Operation mode 6 – fills the holding tank to tank 2 and at the same time, transfers tank 2 to tank 1 through SV321 (energized), SV322 (energized), SV323 (energized) and SV324 (de-energized). It also maintains a set point for filling the tanks.
CE 1.4 Objectives
To prove my overall understanding on automation system, I had to complete a project. I chose a project that was based on how the automation system works in manufacturing industry of advance PLC department. And as per my project requirement I had to perform PLC and SCADA programming. Based on the two choices given to me, from Fluid management system and Pressure management system, I chose Fluid management system. The objective was to make a complete a fully automated fluid management system using PLC programming with an HMI/SCADA in 13 weeks’ duration. It should consist of 3 water tanks, 2 pumps, number of 2 & 3 way valves using Allen Bradely software & IFIX SCADA software and various fluid level measuring instrument.
It was further required to:
Program PLC for six operating modes
While implementing all the hardware like fault lights & operating lights
SCADA programming
Interfacing.
CE 1.5 The chart of organizational structure
CE 1.5 Duties
I studied and researched the basic architecture of the fluid management system which included PLC CPU (Allan Bradley), Device Net Scanner and Flex I/O, RSlogix 5000(PLC programming software), HMI interact and software.
I prepared the fluid management trainer system Device Net Network Set up.
I created the PLC CPU – DeviceNet scanner Module interface
I create the mapping DeviceNet Nodes Input and outputs to the DeviceNet Scanner Module input and output registers.
Performed commissioning and testing of a PLC system
Coded the PLC programming for the water station for six different operating modes.
Represent all the different modes to supervisor, explaining them how it works.
Diving and providing time slots to team members.
Maintaining balance and peace to avoid conflict among each other.
Kept good relations with supervisor.
Reporting the development of the project to the lab supervisor and coordinator.
PERSONAL ENGINEERING ACTIVITY
CE 1.6
The project I have done related to the educational qualifications that I have obtained in my degree course. The relationship between the different modules and project processes is explained below:
PLC (Program logic control): Here, I learned how to write PLC program with Allen Bradley software by using RS logic 5000. This skill was helpful in completing my programming design for water station.
Instrumental Principal: This module gave me the knowledge about sensors, how they work and wiring of the sensors, how you can program them. For this project, I have used electronics level sensor LK31 and Impeller flow meter. Electronics level sensor determine the level of fluid according to the capacitive measuring principal.
Industrial Networking: My project involved the knowledge of DeviceNet and scanner which was learnt from this module.
Project management: Project management module skills were completely applied at all the stages of project. The project was also divided in to two parts. All the tasks were scheduled and divided accordingly. I applied various techniques to practical implementation that learnt from project management.
Mathematics and Fluid Mechanics: My project involved a lot of calculation for example, the calculations to find torque, force, and power for the motor along with the calculations done to find the physical parameters of components. I also did the calculations to select the pulley and belt as well.
Professional Engineering Technologist: During the project life cycle, while working with Water station, I had to rely on the communication skills. The work experience gained during this project demonstrated how important the communication skills are to the professional engineering technologist.
CE 1.7
As a group project, I had to separate the system which contains two main part – PLC programming and SCADA programming. I decided to complete the PLC programming and assigning my mate mater the SCADA programming. In PLC Program subroutine, to make the programming easy for controlling, for finding faults and for easy access to different part of programming, I had to split the main routine into different subroutine. This process can be seen below:
Figure 1 PLC Program design methodology
CE 1.8
To prevent the occurrence of PLC program interlocking, this technique of energization of one contractor prevents the energization of other until it is in use. This method is called interlocking and I used interlock as a pre-requirement of the task to run the program. Various safety factor and other reasons such as Pump/Motor Faults, pressure requirement of system etc. are considered to run the function of PLC properly. It also makes the programming part easy, for this only writing the code logic of interlocking at one place is required and the same code is used as a pre-requirement of task at another place.
Figure 2 logic of interlock in one place and use interlock as pre-requirement of task
CE 1.9
Considering the program logic interlock as Pump fault. It means, that if there is no pump fault, then the PLC will start running normally. Once the PLC starts running, it starts to operate in mode 1. In programming mode one, filling the tank 1 from holding tank through SV 321 valve (energized) and SV 322 valve (de-energized) is done. For the PLC program to be permissive, i.e. each process condition undertaken is called a permissive. For example, consider permissive to be a burner control for large combustion furnaces. To start the burners in a large furnace safely, the control system requests “permission” from several process switches, including high and low fuel pressure, air fan flow check, exhaust stack damper position, access door position, etc. Every process condition that it undergoes is called a permissive. In the below diagram, it is control to fill the tank 1 by tank level permissive, if water level is below 10cm it will start filling tank until to reaches 13cm.
Figure 3 PLC program permissive
CE 1.10
Once the PLC program was completed and along with all the DeviceNet IOs pre-commissioned, registered and labelled in the PLC controller memory I started to design each operating modes’. I started with operating mode 1. Once the programming of operation mode 1 and 2 was completed and it started working as intended, I could test the rest of the inputs in the system which were the water level sensors. While programming I constantly referred to operating mode table that I made using various engineering tools. Once the basic idea was plotted in the table format, the programming of remaining operating modes was successfully completed and also some extra additional features were added.
Figure 4 Operating mode table
CE 1.11
In the system architecture, there is a PLC CPU, DeviceNet Scanner and Flex I/O, RS logic 5000, PLC program and SCADA IFIX program. DeviceNet is a network system that is used in the automation industry to interconnect control devices for data exchange. In the water management system, there is a DeviceNet scanner node. In a typical configuration, the scanner module acts as an interface between DeviceNet devices and the programmable controller. The scanner module communicates with DeviceNet devices over the network to:
Read inputs from slave devices
Write outputs to slave devices
Communicate with peer devices.
DeviceNet nodes setup as follows:
Node 0: 1794-SDN Compact Logix DeviceNet Scanner/Master Module used for DeviceNet network control and data exchange with the PLC CPU.
Node 1: Allen Bradley Flex IO distributed IO system.
Node 2: Allen Bradley DeviceNet interface Stack Light system.
Node 4: Allen Bradley Variable Speed Drive used for speed control of pump MDC118
CE 1.12
I started performing test runs at the final stage, which includes:
Checked all the cable connections between the PLC and the plant are complete, safe, and to the required specification that meets the local standards.
Checked that all the incoming power supply matches the voltage setting for which the PLC is set.
Checked all protective devices are set to their appropriate trip settings.
Checked that emergency stop button.
Checked that all input/output devices are connected to the correct input/output points and giving the correct signals.
And checked the FLEX I/O system that contains a network adapter, terminal bases, and I/O modules.
CE 1.13
After performing the above troubleshooting, the only problem I faced during the implementation of the whole system was that the Emergency stop button wasn’t working. To solve this issue, I took various steps. I started by checking the connections. The first module is 1794-ADN – DeviceNet Gateway module which is used to communicate and transfer data between the DeviceNet Master Module and the Flex IO modules 2 – 4. And the module the next 3 modules in order from 2 to 4 are –
1794-IB32 – Digital Input Module
1794-IE4XOE2 – Analog Input/output combination module
1794-OB16 – Digital Output Module.
I checked the digital and analog input connection with emergency button with help of my lab supervisor and realized the problem was regarding the analog and digital input only, so I tried to resolve it by doing a research and taking suggestions from supervisors.
SUMMARY
CE 1.14
I successfully achieved all the objectives of the project within specified time limit and I gained good knowledge from this project as I did intense research about sensors and PLC programing for my project in the form of literature review. This had added many useful engineering techniques to my knowledge and enhanced my problem solving and analytical skills. In addition to that, I also implemented and used my engineering knowledge to make this project successful. I used concepts of various Engineering techniques and PLC programing which I had studied during my course of Bachelor of engineering technologist in Mechatronics. I presented a project thesis and seminar on my work on submission of my project.
Essay Writing Service Features
Our Experience
No matter how complex your assignment is, we can find the right professional for your specific task. Contact Essay is an essay writing company that hires only the smartest minds to help you with your projects. Our expertise allows us to provide students with high-quality academic writing, editing & proofreading services.
Free Features
Free revision policy
$10Free bibliography & reference
$8Free title page
$8Free formatting
$8How Our Essay Writing Service Works

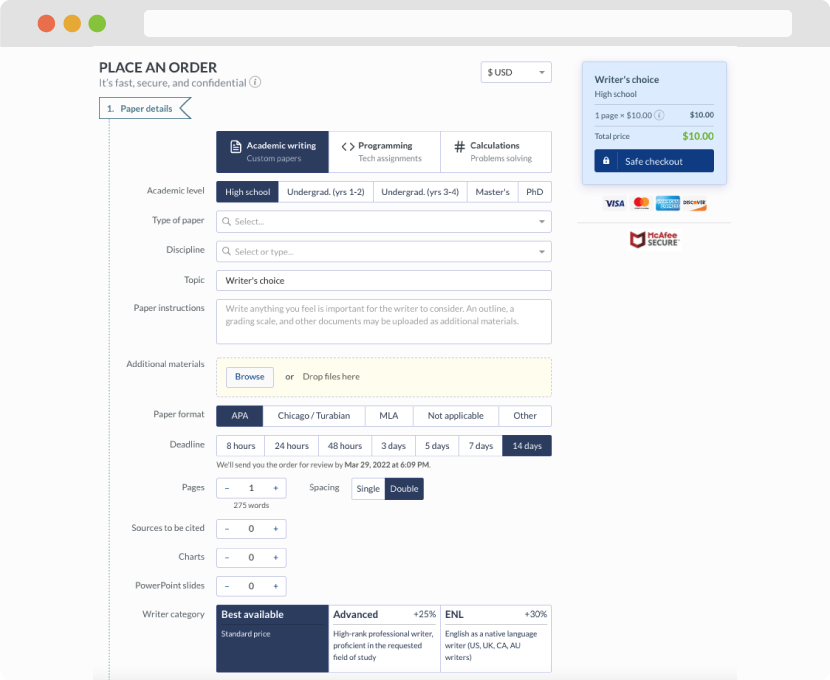
First, you will need to complete an order form. It's not difficult but, in case there is anything you find not to be clear, you may always call us so that we can guide you through it. On the order form, you will need to include some basic information concerning your order: subject, topic, number of pages, etc. We also encourage our clients to upload any relevant information or sources that will help.
Complete the order form
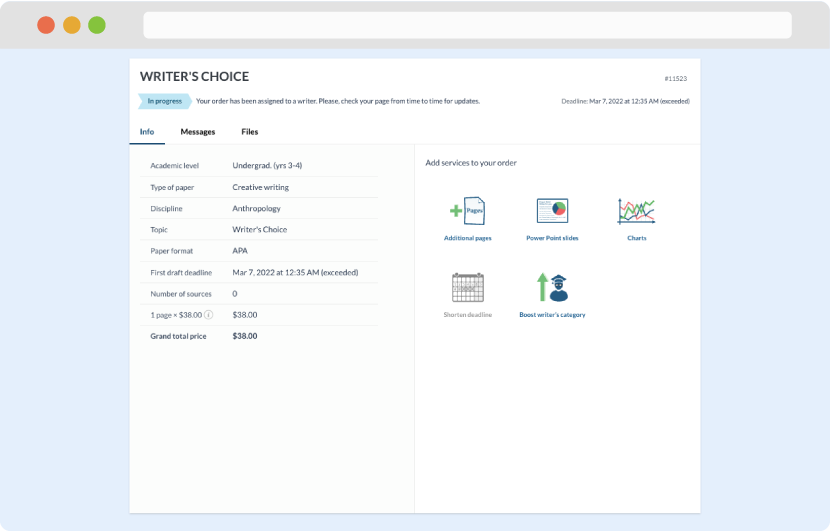
Once we have all the information and instructions that we need, we select the most suitable writer for your assignment. While everything seems to be clear, the writer, who has complete knowledge of the subject, may need clarification from you. It is at that point that you would receive a call or email from us.
Writer’s assignment
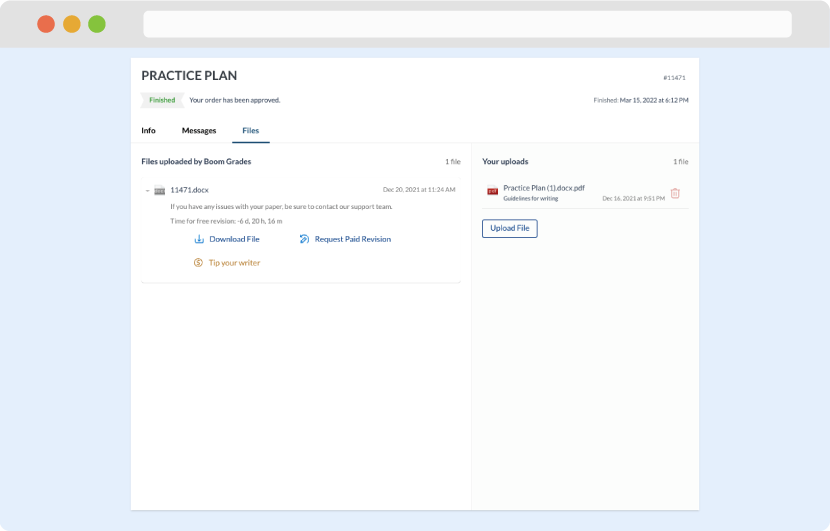
As soon as the writer has finished, it will be delivered both to the website and to your email address so that you will not miss it. If your deadline is close at hand, we will place a call to you to make sure that you receive the paper on time.
Completing the order and download