Virtualization computing refers to a new way of capabilities addition to a computer without the need of software licensing in the acquired new hardware or personnel training. In this report, we will be implementing the server of a cloud for the storage of a database and running the services of the application through online means.
We are going to begin by installing the workstation of the VMware whereby an individual is able to create a network that is virtual through the directory that is provided by the software.
Fig 1: Selecting setting up a VNet on VMware
On create new virtual network, we will select the edit option on the displayed menu and since we are going to create a virtual network then we will select the Virtual Network option on the menu.
The virtual Network editor will simply have different type of host connection on which different Nat type of virtual network are connected and enabled on each other. Upon the change of the setting and create a new virtual network, the one on the bottom right first, one needs to change settings and the add network button will be enabled. The next step will be adding a Virtual Network on the network editor. We will select the name of the network and configure the DHCP setting to finalize the network ip address, there are starting ip and ending ip broadcasting network in the communication channel.
All the resources ought to be located on a network. Therefore, a virtual network will be created in this since we already have the subnet, network security group, resource group as well as the public IP address.
Fig 2: Inserting Basic Criteria’s
Connecting a host virtual adapter will enable the user to use basic DHCP ip address to distribute ip address to the virtual machines that are available in the network
Subnetting is one of the new and best technology when it comes to dividing roles. Subnetting is a way of splitting/dividing the network in to one or two routes. For efficiency, reliability and authenticity. In this case, the allocated the ip range of 192.168.207.0 that will give us 512 addresses with a subnet mask of 255.255.255.0.
A service input is a set that simply provides connection between the Virtual Network and the other storage hub or secret data warehouse. One can also block the storage account access and protect it. One can simply protect the traffic flow. It ideally works like the firewall.
After checking that all the data entered are on the design and set correctly, then we are going to create the Virtual Network. It will take up to 3 min in order for the VMware to create one VNet.
Fig 3: Running Virtual Netwrok.
After the VNet is created and all the data in it is put into place, then we will go directly to creating the second Subnet. The application server users some few ip addresses for their own purpose so we are going to create on the remaining amount of ip ranges that is available. If I go to the subnet that I have, it shows the default that takes about half the ip address range and since VMware takes 5 ip addresses for its own use we will be left with the remaining 126 ip addresses within the network.
A resource group is a large logical group of related resources. The groups focus on the management security in the building of the Virtual Network. When selecting a region, one needs to select an area that is closer to the workstation. The closer the region the quicker the response to the Virtual Network.
Fig 4: Subnetting ip address and Subnet masks
We are going to create a second subnet where we are going to use half of the remainder. The Second subnet known as the Backhead is dedicated in covering the ip range of 192.168.207.0.
If you are going to create a virtual network it uses a net gateway to connect your private own network into Microsoft VMware then the network requires its own subnet. Then we will add a gateway on it.
Gateways helps one to get linked or connect from a private network to the virtual network hence enabling access to all the basic equipment that is ideally being shared in the group level.
Another thing that needs to be discussed is the Networking Security group. The security group act as the firewall to the virtual network and the subnetting on which they are attached to. Like all the other security roles, they also have the inbound rules that guide and govern the flow of data and information into the virtual network/they have the inbound type of rule and the outbound.
There major 3 rules that are set in the networking security group
Upon adjusting the security group then one will click on the resource tab, select create new Network Security group then it will prompt one to input the details to use in the creating, that is, the name of the security group, resource group and the region.
The following step is the one that we will need to create a virtual machine and link it with the network. One of the virtual machines will be windows 8 which will turn out to be out host machine with scvmm and the other machine is Microsoft XP which is host 2 and will act as the client in this way.
Click create a virtual machine on the home tab. A dialog box will prompt you to select the type of application you want either typical machine or a customized one with your setting on it. Then the next step is selecting the operating system, which in this case is Microsoft Xp. Then were going to allocate the disk space to the operating system. 512 mb is the appropriate disk space to be allocated to the Virtual machine. Then were going to customize the hardware configuration in that we select the iso boot location where it is the operating system and were it will store. I have the cd/dvd drive for the Microsoft Xp version
Fig 5: Hardware Configuration
On finalizing the configuration of the hardware requirement the below display will be given showing the machines detail and whether or not were going to power on the machine. On powering on the VMware will directly take us to the Bios boot and will identify the operating system and be able to boot from it.
Fig 6: Validation Pass
We will then select the language the keyboard use and the region as to which we are in. then click ok and the disk partition option will appear and will prompt us to select eh location were the iso image and boot mgr. will be store in the local storage unit. On directing the channel then the boot will commence.
Fig 7: Bios Boot Loader
After successfully setting up the operating system them were good to go and the virtual machine is up and running
Fig 8: Windows Finally Setup
The next step is also to create the second virtual machine but in this case, the machine will be used for scvmm function. The difference also is that the operating system will be in window 8 Version. In creation of the Microsoft Xp the same steps and procedures will be followed the difference is that in this we do not have the windows iso disk. We have a bootable flash. So on the validation pass will need to add some information for the hard disk drive in that we select typical location and on it will choose the hardware that we want to use and the partition number of the hard disk to the drive. One can check on the command prompt the number in which the partition is in use
.
Fig 9: SCVMM Setup
Were also going to setup and SCVMM server manager for the network in which it is hosted in.
In this phase, a host virtual machine is will be established with the SCVMM machine to enable them to communicate.
Once logged in, we create the profile of the user. We then move to the starter manager and make changes on the server by use of roles that provide a number of choices to the server manager. We then move to the dialog box whereby we select which is:
This enables modification of the firewall as well as restriction of the traffic that enters the box from outside. Then the security rule added from the outside.
Windows 8 is the host that is trusted to run the residential domain and to store the virtual machine in the SCVMM library.
On creating a SCVMM 2012 R2 Requirements there are several requirements that need to be meet such as
Fig 10: Local Serve Properties
Create an account of active directory that were going to use for the Virtual Machine to get to admin the host machine
We will create some user and login credentials for the administrator of the server to login and be able to manage the network database and the server
We also need to create a Container in active directory for distributed key management
The diagram below shows how we are going to add hosts to the SCVMM.
In this phase were going to deploy the Permission and administrator account to the server machine by granting it access to various function in the virtual machine
Were also going to Grant the SQL SERVER the permission to admin.
Migration of one virtual machine from one host to another
The sql database being one major backbone for the storage of data and information is very crucial for person guarantee. Move to the dashboard and then pick the option of manage. Use the name of logging in and the password, the level of the performance and the tired of the service we are going to select. After that, begin sending data from the database of the SQL. At the manage option, a notification will appear indicating that we import the blog. Then, enter a password to begin exporting data.
Download Team manager for Windows 8. By doing so, we will be able to access and manage the SQL Database remotely even without login in into the scvmm machine to grant entry to the database
After downloading, we will need to install and make it run to the virtual machine and be able to deploy the administrative rule to the database
The process is as follows: create a database in the cloud in the counsel of the VMware management windows. After creating the database, choose a server, work location and the virtual server.
Placing the SQL server used by SCVMM on a machine that does not operate the VMM service.
We begin this by creating a database. Create two tables that will be used in storing the data contained in sent zip. Then go to import and export data. Then, upload it into the VMware using a tool after creating an account for storage.
MY SQL database creation.
To begin with, launch instances of multi RDS. Create and modify the instances of the database run as deployment of multi A2. Multi A2 deployment enables the application to become transparent. One cannot interact with it directly and it is not possible to use it supporting the read traffic when setting up a database of the VMware. The following conditions should be met:
References
Amazon EC2 Available: https://microsoft.azure.com/portal
Zhang, L. J., Zhou, Q., 2009. CCOA: Cloud Computing Open Architecture. In Proceedings of the 2009 IEEE International Conference on Web Service, pp. 607-616
Chu, D., Popa, L., Tavakoli, A., Hellerstein, J.M., Levis, P., Shenker, S. and Stoica, I., 2009, November. The design and implementation of a declarative Embedded Cloud implementing. In Proceedings of the 5th international conference on Embedded Cloud implementing systems (pp. 175-188). ACM.
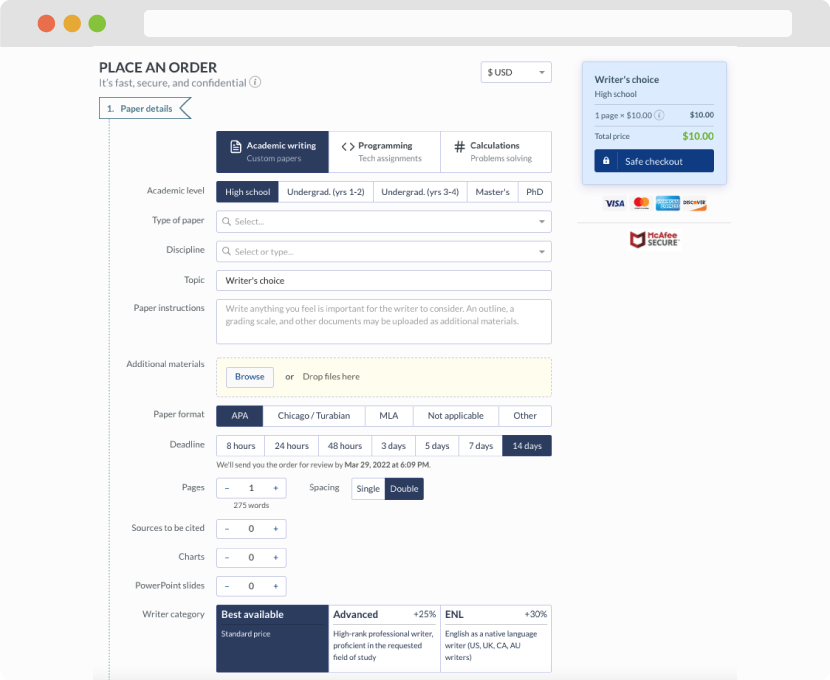
Essay Writing Service Features
Our Experience
No matter how complex your assignment is, we can find the right professional for your specific task. Contact Essay is an essay writing company that hires only the smartest minds to help you with your projects. Our expertise allows us to provide students with high-quality academic writing, editing & proofreading services.
Free Features
Free revision policy
$10Free bibliography & reference
$8Free title page
$8Free formatting
$8How Our Essay Writing Service Works
First, you will need to complete an order form. It's not difficult but, in case there is anything you find not to be clear, you may always call us so that we can guide you through it. On the order form, you will need to include some basic information concerning your order: subject, topic, number of pages, etc. We also encourage our clients to upload any relevant information or sources that will help.
Complete the order form
Once we have all the information and instructions that we need, we select the most suitable writer for your assignment. While everything seems to be clear, the writer, who has complete knowledge of the subject, may need clarification from you. It is at that point that you would receive a call or email from us.
Writer’s assignment
As soon as the writer has finished, it will be delivered both to the website and to your email address so that you will not miss it. If your deadline is close at hand, we will place a call to you to make sure that you receive the paper on time.
Completing the order and download